Moving files between OneDrive accounts might seem tricky at first, but with the right approach, it’s straightforward to handle.
Whether you’re managing personal accounts, switching to a business account, or organizing files across multiple accounts, knowing how to transfer your data efficiently is important.
You can either use the OneDrive app to manually sync and transfer files between accounts or leverage a third-party tool like Cloud Combo for an automated, time-saving solution.
This guide will walk you through both methods step-by-step, helping you move your files efficiently while ensuring everything stays safe and organized. Let’s dive in!
Things to Consider Before Starting to Move Your Files
Errors often occur when files are transferred between OneDrive accounts without proper planning. Focus on these four key factors to ensure a smooth and successful transfer.
Check Your Internet Connection
If the connection is slow or unstable, your files might not transfer properly, or the process could take much longer than expected. For example:
- If you’re transferring photos or videos, a slow connection could cause uploads to fail halfway through.
- Large file transfers, such as a 2GB video file, might pause or restart if the connection drops.
To avoid this, use a stable Wi-Fi connection or create a wired Ethernet connection for maximum reliability.
Consider a Migration Tool
Transferring files manually is time-consuming and often leads to errors, especially when dealing with hundreds of files or large folders across accounts.
Cloud storage tools like Cloud Combo offer an efficient solution by automating and simplifying the entire process.
For example, Cloud Combo enables direct file transfers between OneDrive accounts without requiring you to download files to your device and re-upload them to the new account. This eliminates redundant actions, saves time, and reduces the risk of file mishandling.
These tools are particularly helpful for managing multiple cloud accounts, such as when organizing personal and professional files or consolidating data across platforms.
Pro Tips: Before transferring files, check the default location for your synced folders on your device. Knowing where files are stored can help you keep everything organized.
For Business Accounts
If you’re running a small business, it’s smart to migrate your files to a new OneDrive for Business account. Why? Because business accounts come with features like enhanced security, more storage, and collaboration tools.
For example, a small business owner or freelance graphic designer may need to move design files manually from a personal OneDrive account to a business account to securely share them with clients.
Understand File Limitations
The total storage capacity in OneDrive depends on the plan you choose. Free accounts offer 5GB of storage, while paid plans, such as OneDrive for Business, provide up to 1TB or more.
For users with a paid plan, individual file uploads can be as large as 250GB, making it easier to transfer large files. However, for free accounts, the file size limit effectively remains much smaller due to the 5GB total storage cap.
Few Tips for Large Transfers:
- Compress or split large files to ensure they transfer smoothly.
- Always copy files first to avoid accidental data loss.
- Verify the transfer before deleting files from the original account.
Method 1: Move Files Between OneDrive Accounts Through OneDrive App
Managing files across multiple OneDrive accounts can be straightforward with the right approach. Here’s a step-by-step guide to help you sync, organize, and transfer files efficiently.
Step 1: Sync and Access Both OneDrive Accounts
Start by syncing both OneDrive accounts to your computer to simplify the transfer process.
1. Install the OneDrive App: Download and install the OneDrive sync app.
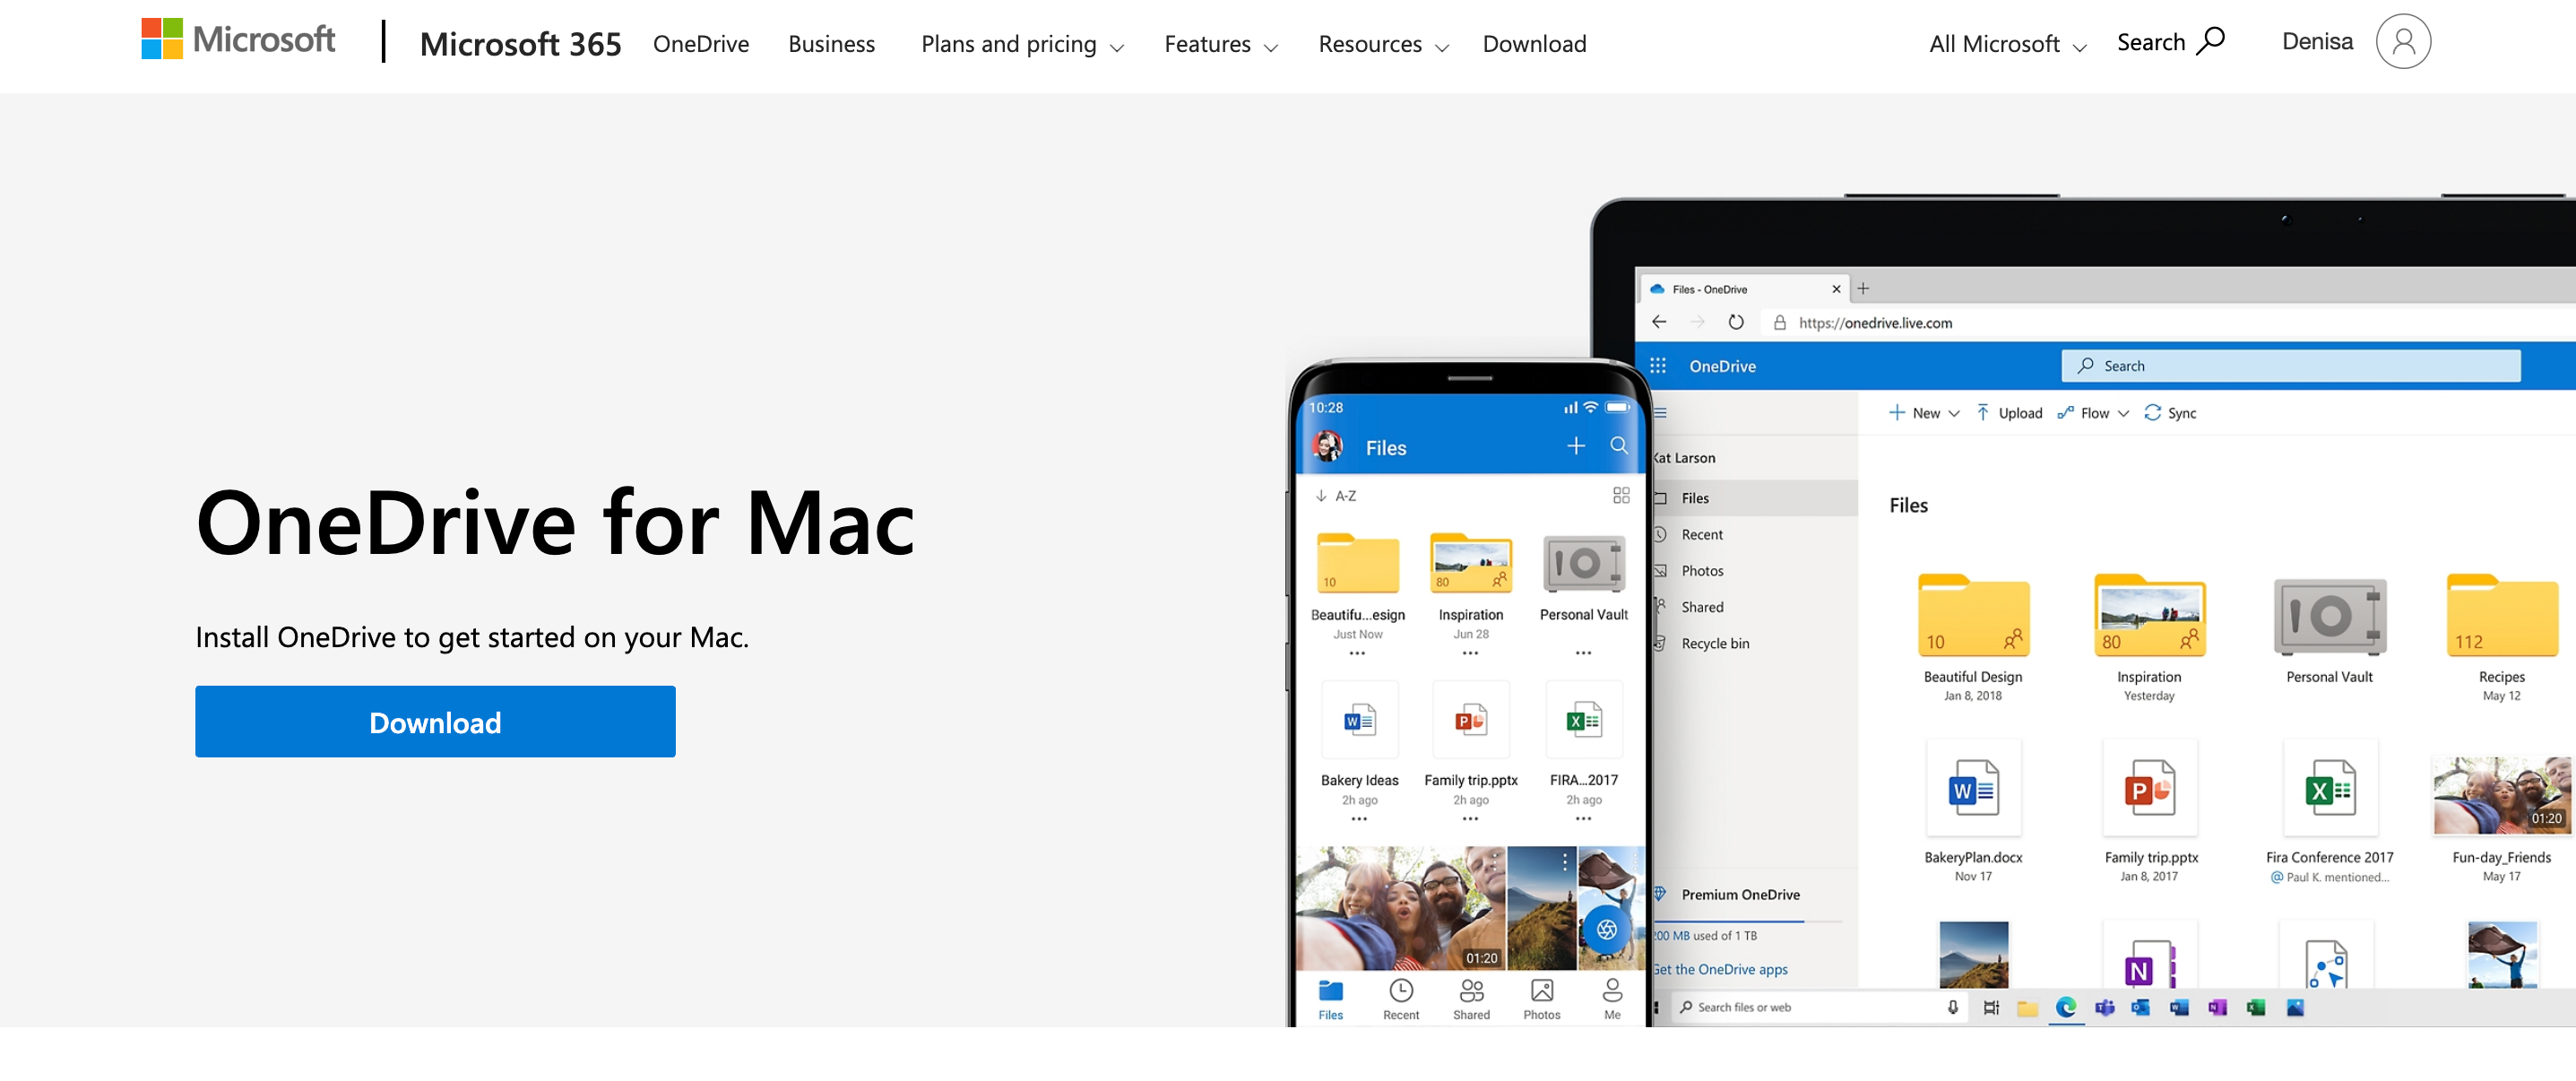
2. Sign in: Use your Microsoft account credentials.
3. Link Both Accounts: Sync your primary account first, then repeat the process for the second account.
4. Verify in File Explorer or Finder: Ensure both accounts appear as separate folders in your own browser or file manager.
5. Log in with Correct Credentials: Use the appropriate Microsoft account details for each account (e.g., personal vs. business). Double-check to avoid account mix-ups.
Step 2: Transfer Files
Once both accounts are set up, use your file manager to make transfers.
1. Navigate to the OneDrive Folders:
- Open File Explorer (Windows) or Finder (Mac).
- Locate the folders for each account.
2. Drag and Drop Files: Simply move files between folders. For example, transfer vacation photos from your personal account to pictures in your work account.
3. Enable Auto-Sync: Any changes made locally will automatically sync to the cloud, saving you time and effort.
Step 3: Handle Bulk Transfers
Transferring multiple files and folders requires careful organization. Here’s how to manage larger operations:
1. Use the Web Interface
- Log in to your first account and download the necessary files.
- Upload them to your second account. This method works well for smaller transfers.
2. Leverage Files On-Demand: Organize files directly in the cloud without downloading them to your desktop device. This is ideal for those with limited local storage.
3. Avoid Overwrites: Rename or reorganize existing files before transferring them to prevent duplicates or accidental overwrites.
4. Organize with Folders: Categorize files into clear folders (e.g., Work, Family, Vacation) for easy access later.
Troubleshooting Common Issues
Even with careful planning, things can go wrong. Here’s how to handle common issues:
Access Problems
Ensure you have the right permissions for both accounts. If a shared folder from your old account isn’t accessible, you’ll need to adjust sharing settings.
Disorganized Files
If you lose track of files after the transfer, use the folder structure feature to reorganize them. For example: Rename folders to indicate their purpose, like 2023_Taxes or Client_Projects.
Slow Transfer Speeds
Slow speeds are common with large file transfers. Tools like Cloud Combo can optimize the process by using cloud-to-cloud transfers instead of relying on your local device.
Method 2: Move Files Between OneDrive Accounts Through a Third Party App
Managing multiple cloud storage accounts can be challenging. Cloud Combo simplifies this by allowing you to connect and manage all your cloud storage providers, including OneDrive, from a single platform.
Here’s how you can use Cloud Combo to transfer files between OneDrive accounts.
What is Cloud Combo?
Cloud Combo is a multi-cloud storage manager that supports various cloud services like Google Drive, Dropbox, pCloud, and OneDrive.

It enables you to upload, download, move, copy, and share files across different cloud storage providers with ease. Here are some of the key features:
- Unified Access: You can connect all your cloud storage providers under one roof, eliminating the need to switch between multiple apps.
- Ultra-Fast Transfer Speed: Transfers are conducted at high speeds, as Cloud Combo’s network handles the workload, reducing the strain on your local internet connection.
- Simplicity and Ease of Use: The app is designed to be user-friendly, allowing you to manage your files hassle-free.
How to Transfer Files Using Cloud Combo
Step 1: Sign Up on Cloud Combo
- Create a new account or log in if you already have one.
- You can also download the app on your phone or tablet for easier access. Download Cloud Combo today on Google Play or the App Store.
Step 2: Connect Your OneDrive Accounts:
- After logging in, go to the dashboard.
- Find the option to add cloud accounts.
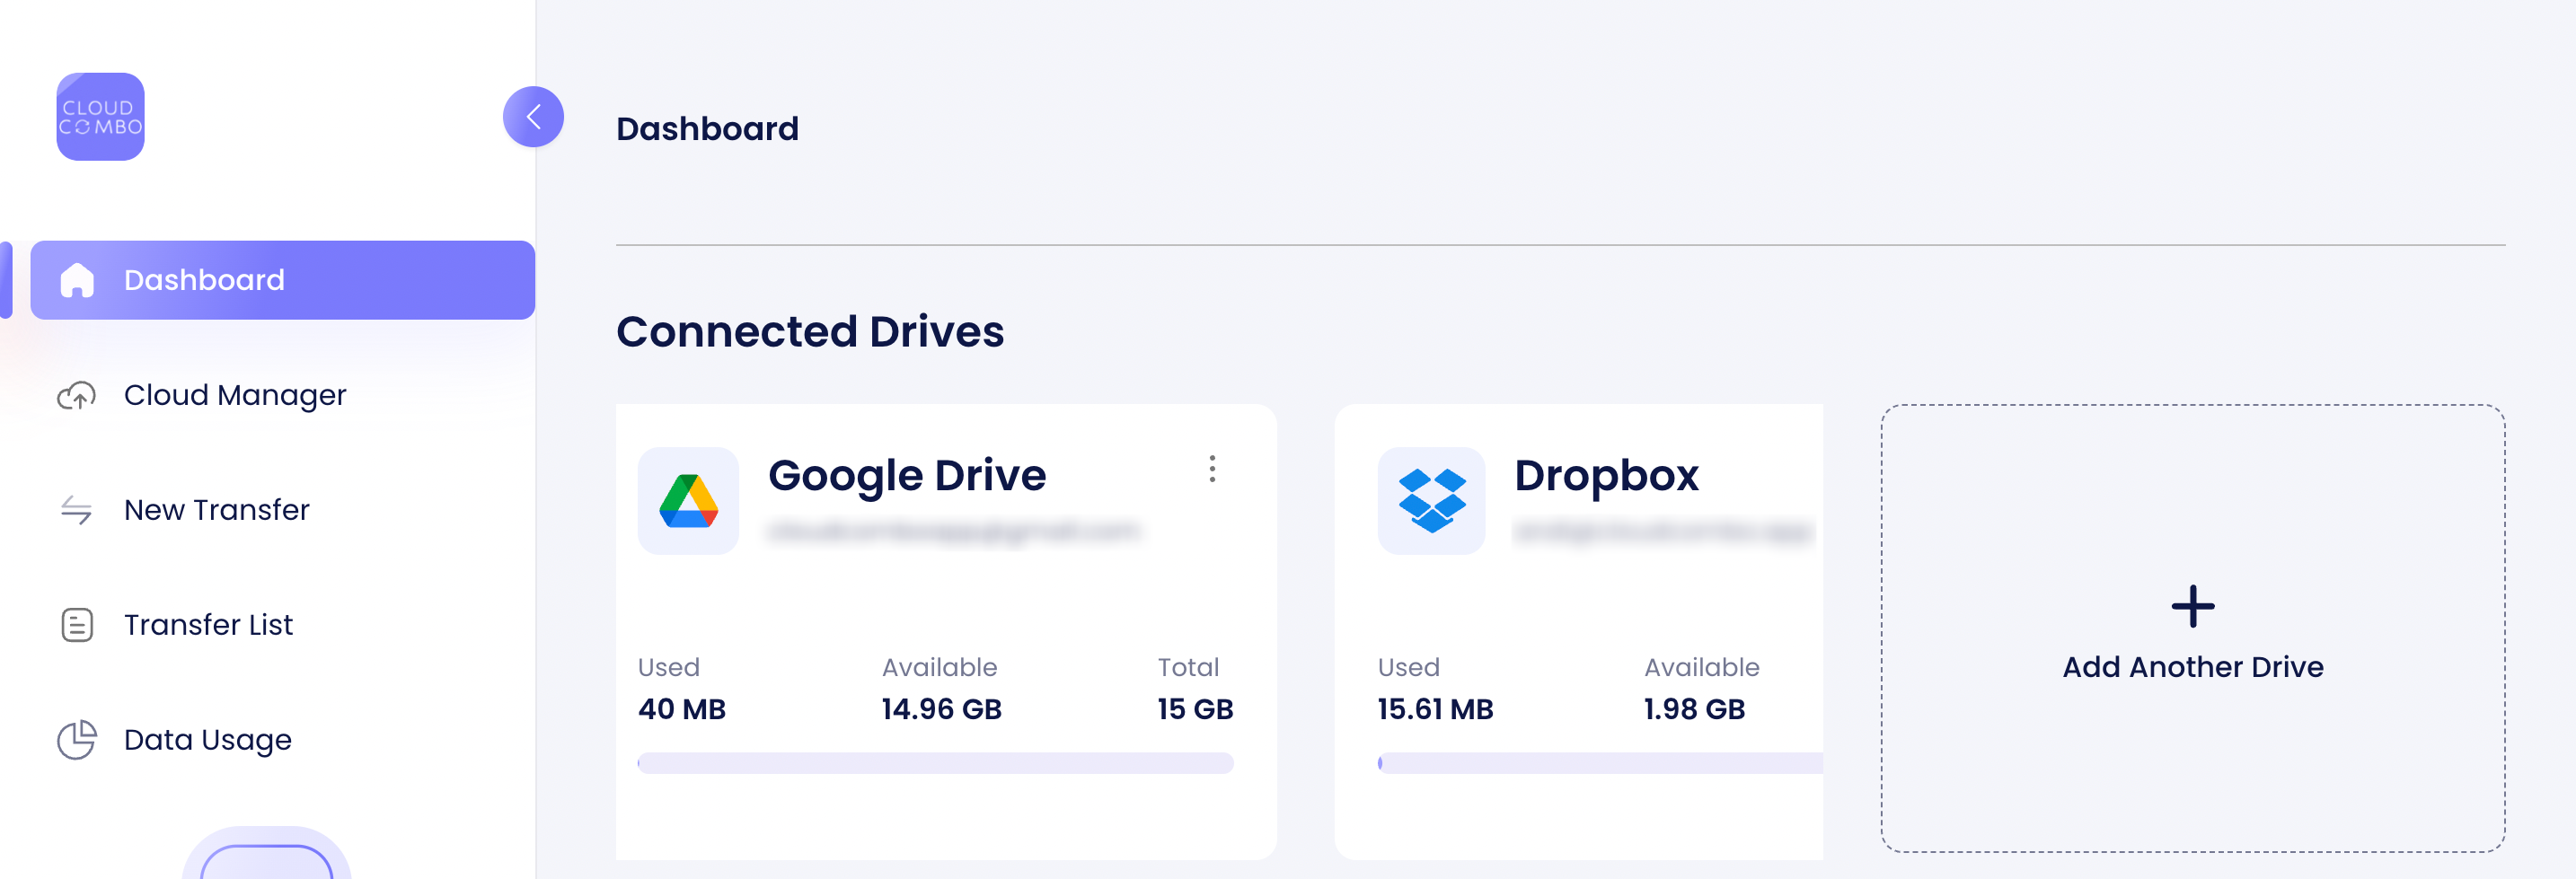
- Add your first OneDrive account by entering your login details.
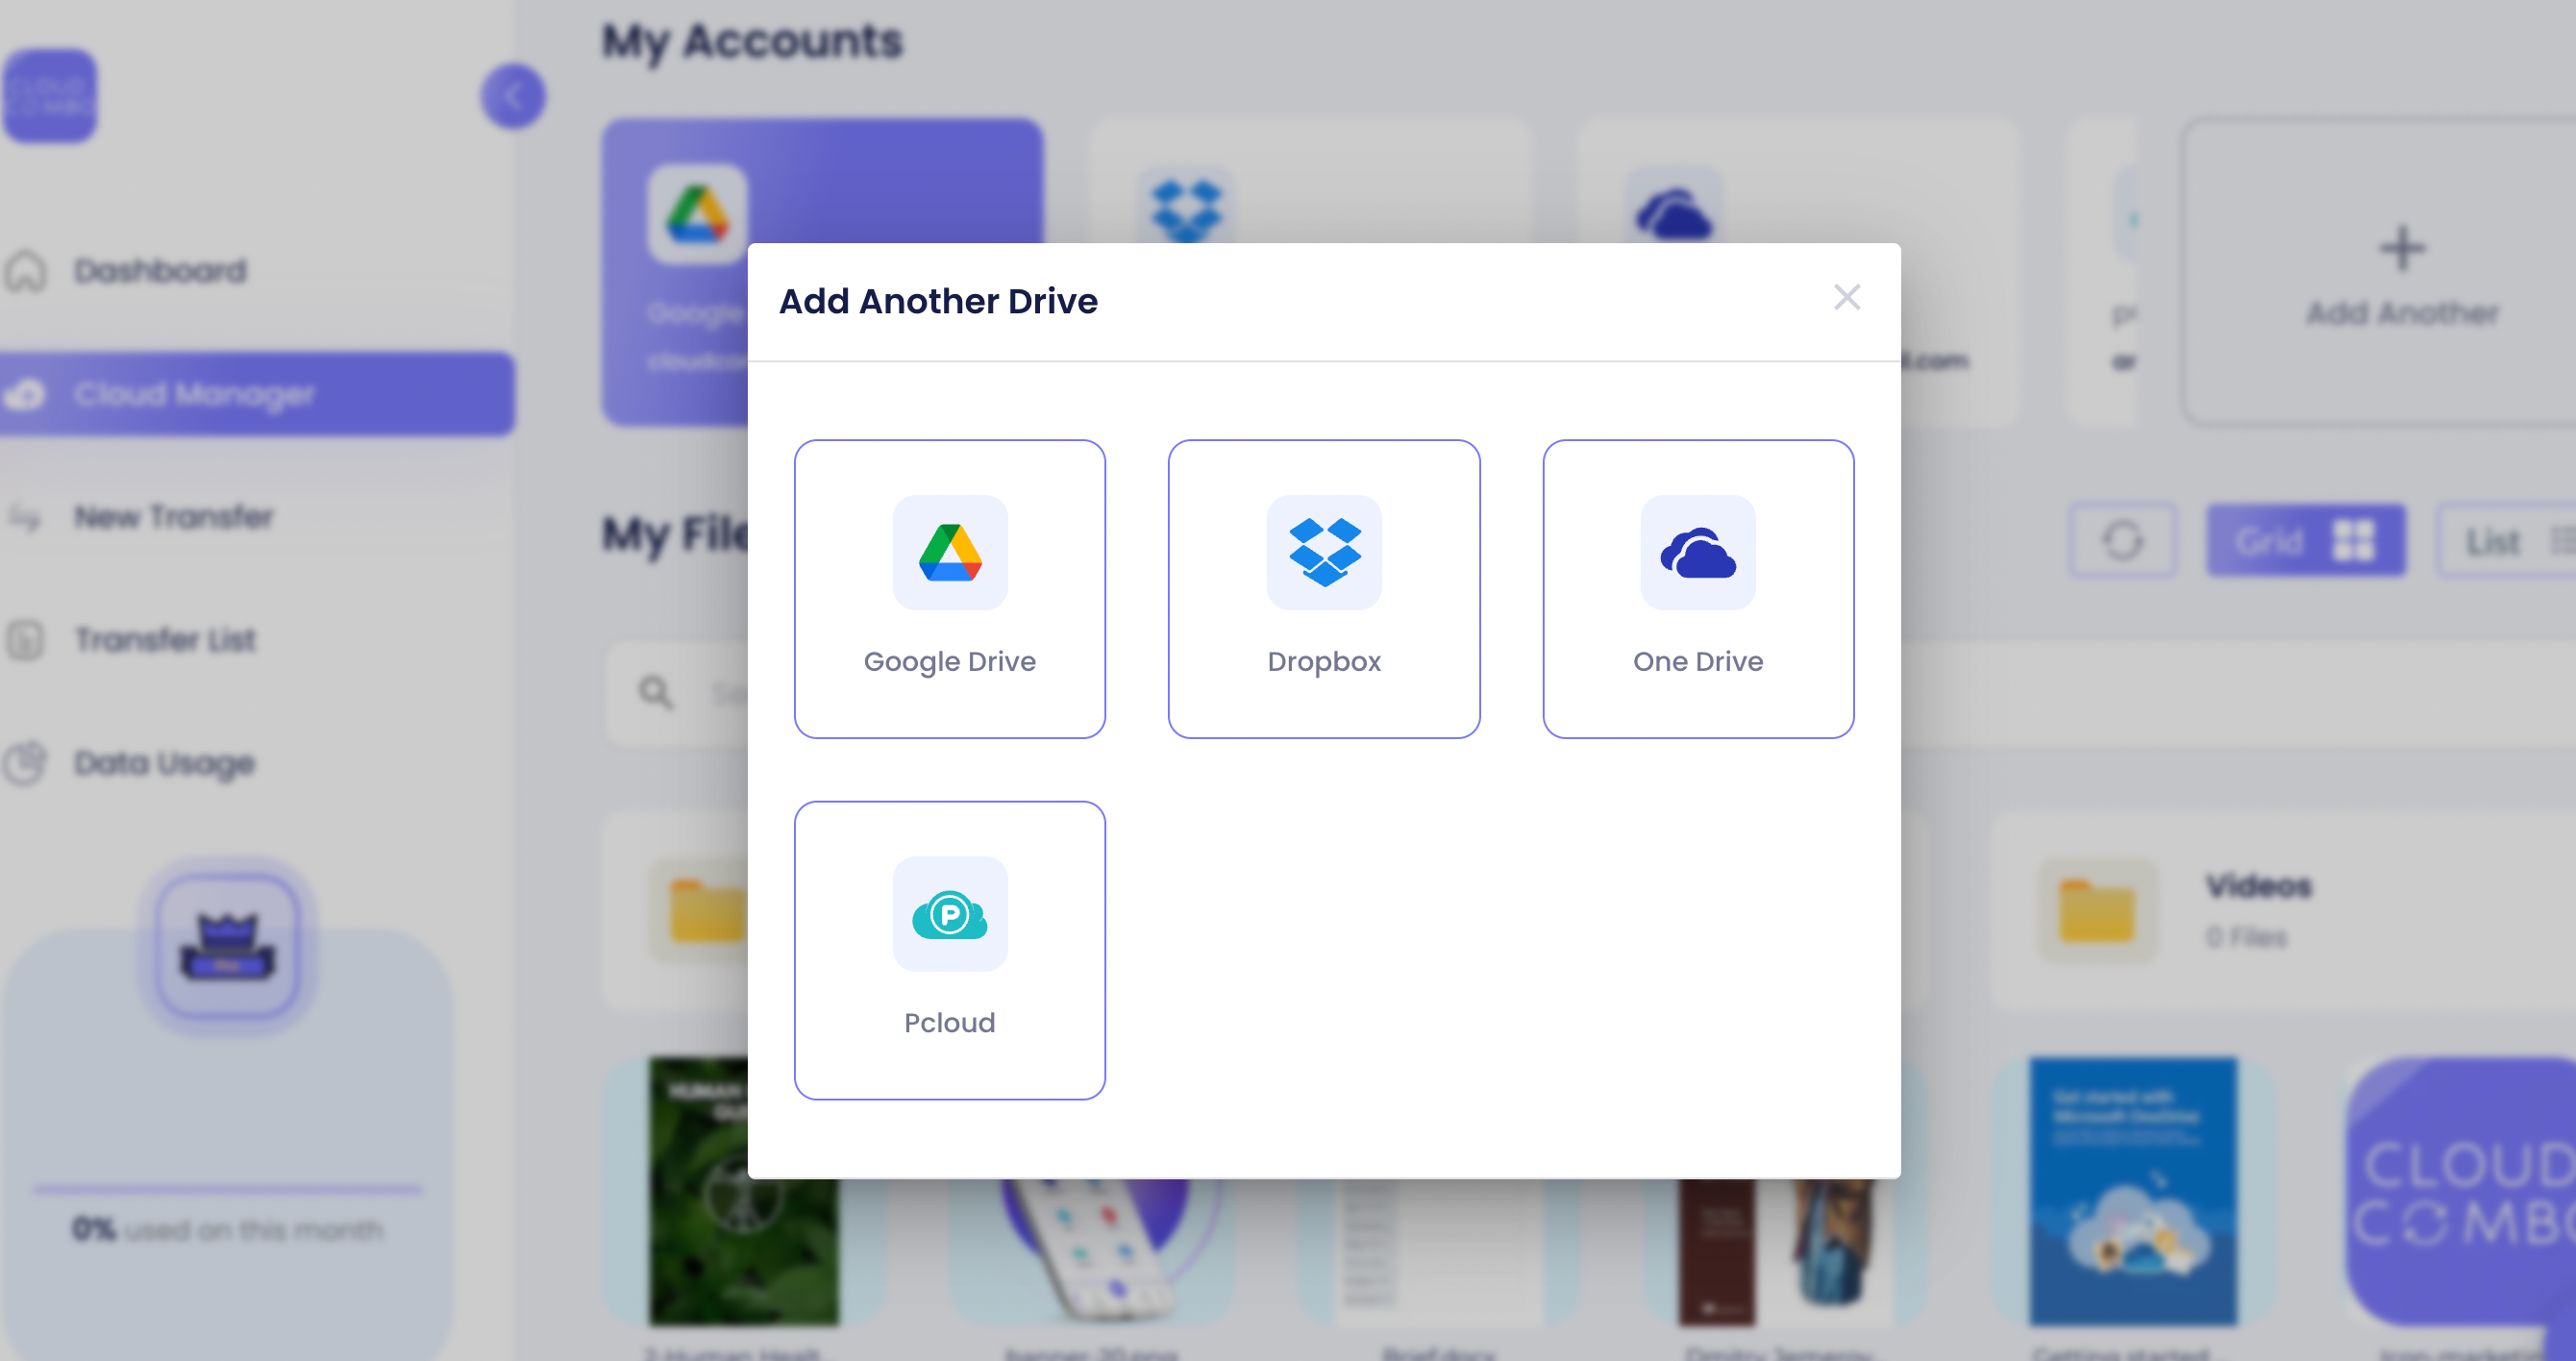
- Repeat the same steps to connect your second OneDrive account.
Step 3: Transfer Files Between Accounts:
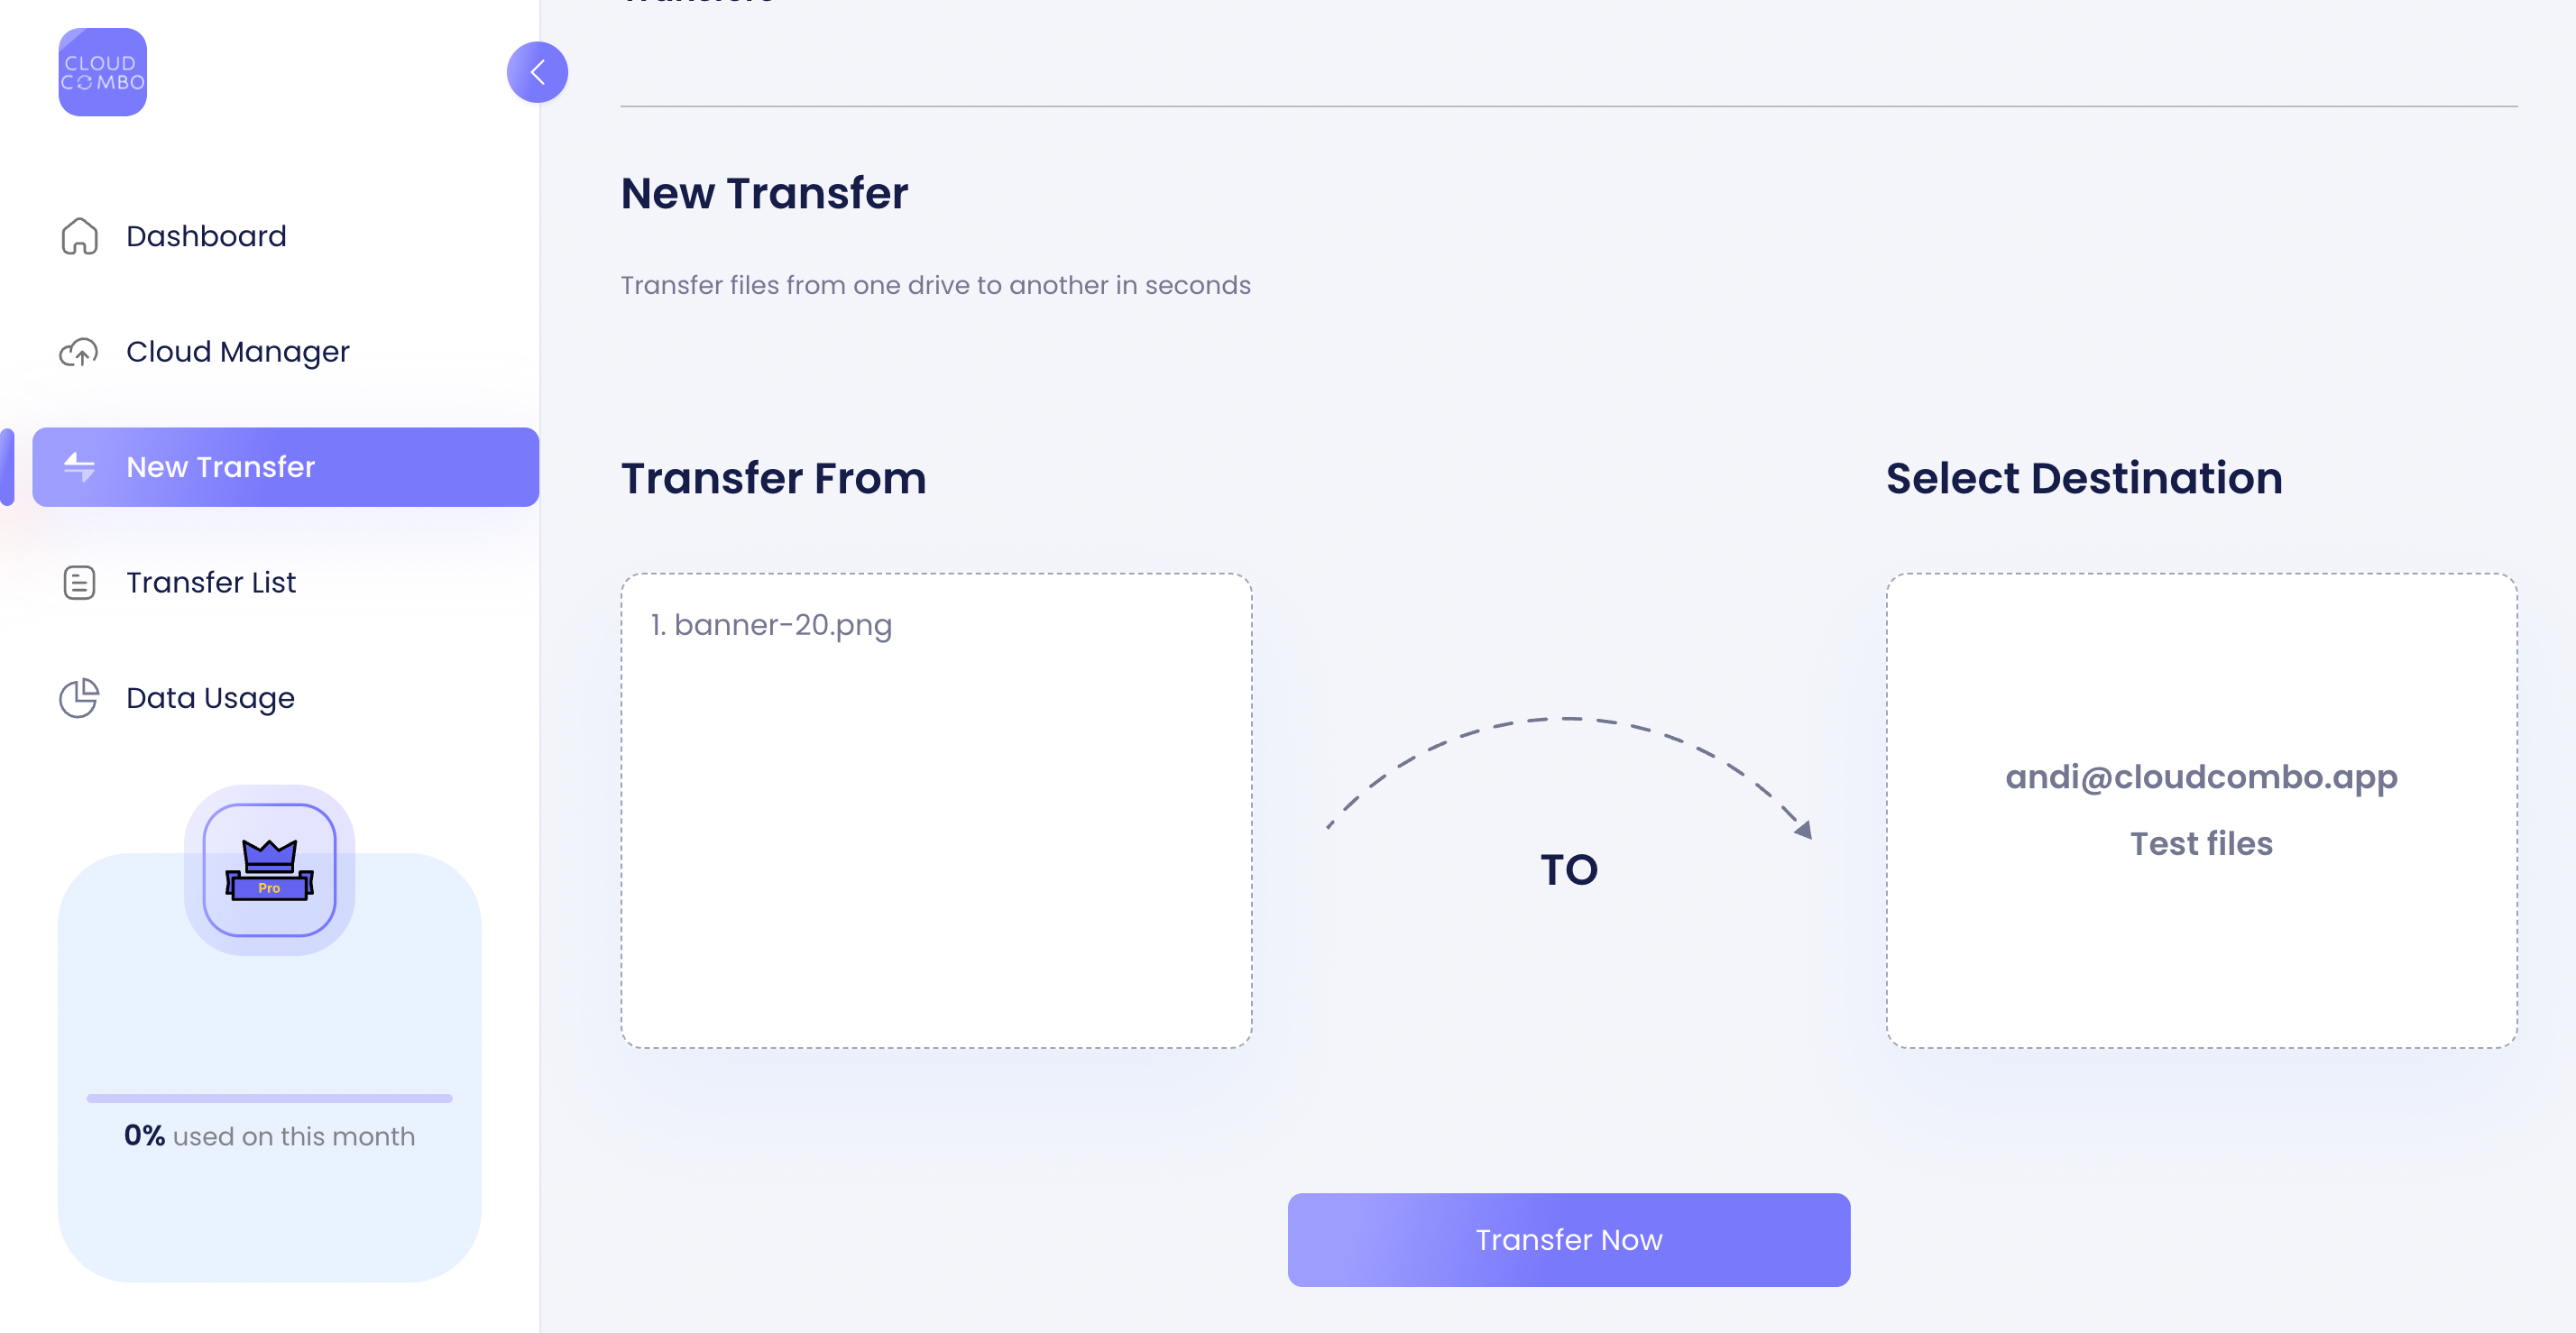
- Open the menu and select “New Transfer”.
- Browse through your files and folders in both accounts.
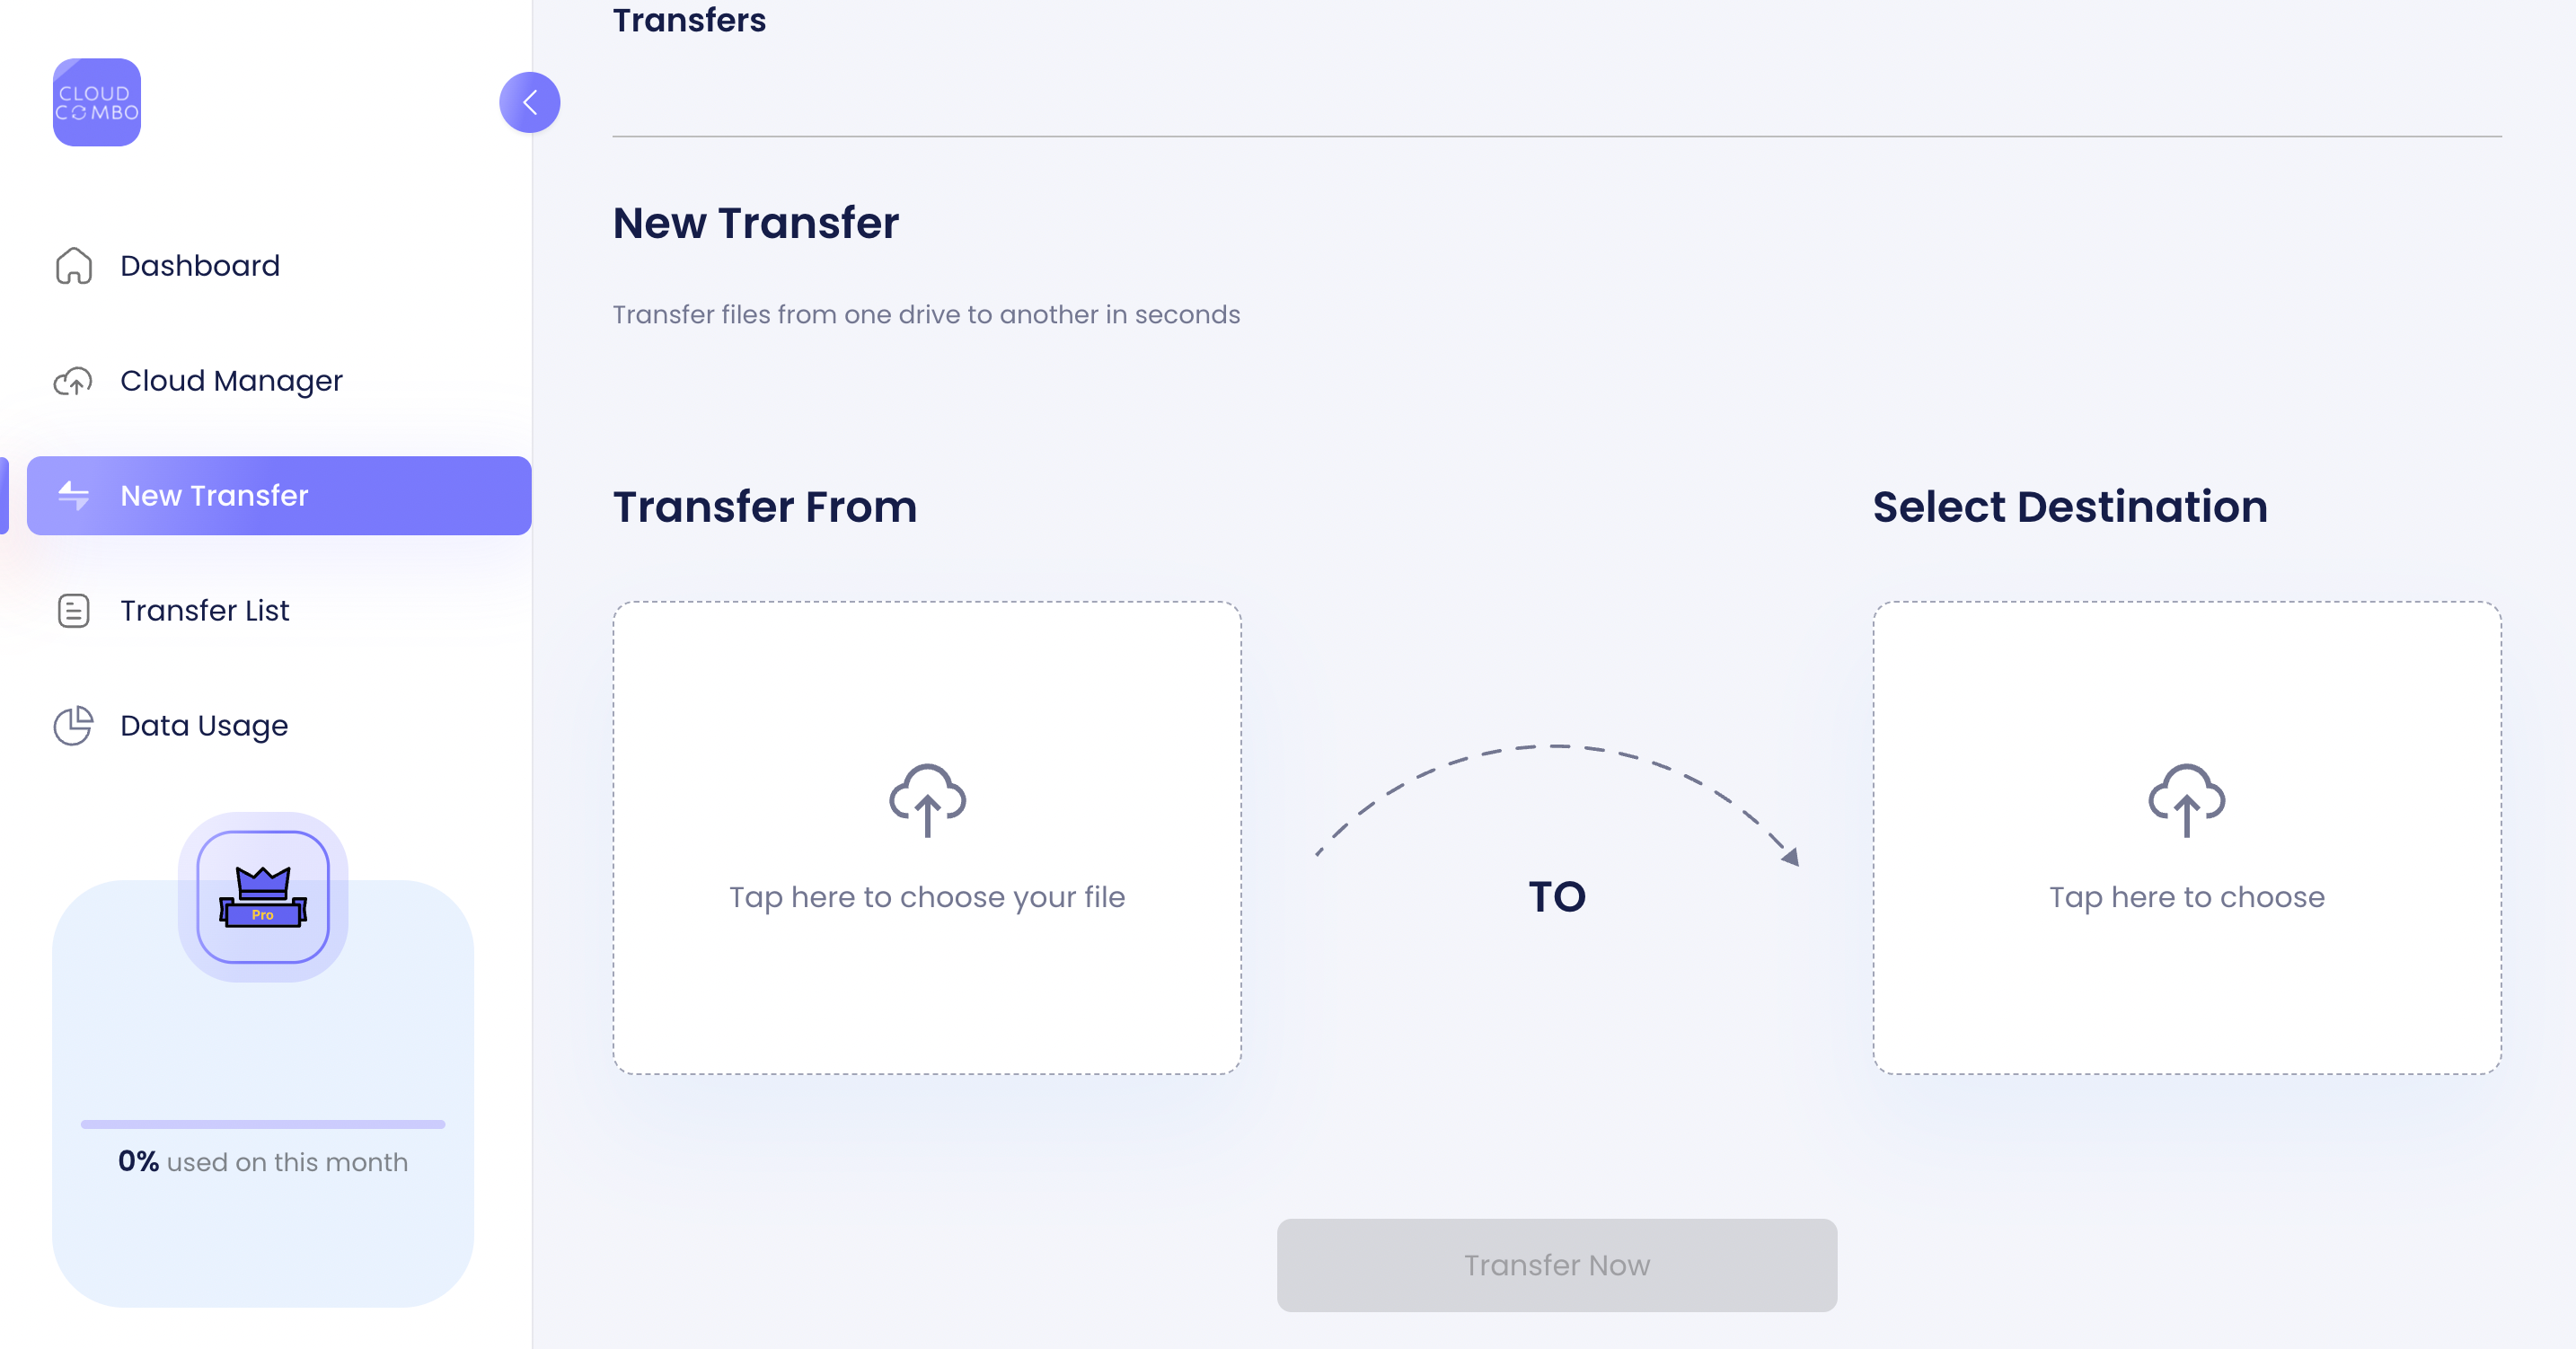
- Select the files or folders you want to transfer.
- Click “Transfer Now” to start the process.
Important Note: Cloud Combo does not store your files on its servers. It acts as a communication bridge between your cloud storage accounts, ensuring that your data remains secure and private. You can unlink your cloud hard drive accounts from Cloud Combo at any time.
Sign up today and see how simple cloud storage can be!
Key Takeaways
Moving files between OneDrive accounts can be simple if you follow the right steps.
- Start by preparing with a stable internet connection and tools like Cloud Combo for a smooth experience.
- Organize your files and use features like Files On-Demand to save time and space.
- Regularly back up your data and maintain folder structures to keep everything organized.
With these tips, you’ll handle your OneDrive file transfer like a pro!